VisionX
Welcome to VisionX! This project is a completely conceptual website for a fictional VR Headset brand. It served as the perfect playground to test a modern workflow: I designed the entire site from scratch in Figma, and then “vibe-coded” the development using Google Antigravity AI. By utilizing an AI agent, I was able to drastically accelerate the build process—turning what would typically be a multi-week development cycle into a functioning prototype in just a few days! The final site even features complex interactive elements like SVG masking and scroll-triggered image sequences.

Research
Inspiration for Design
To kick things off, I researched top-tier VR headset brands to study how they handle colors, typography, spacing, and layout. I was particularly inspired by the immersive, scroll-triggered image sequences that are so popular in modern tech web design right now.
PlayStation VR2
Their landing page opens with a beautiful scrolling image sequence that instantly grabs your attention and feels highly immersive. They lean into a grayscale color palette, which allows their vibrant imagery to really stand out, paired with sleek, minimalist typography.
Meta Quest VR
Meta’s approach is very similar, featuring engaging scroll sequences but relying slightly more on video than static imagery. They also use a grayscale foundation accented by simple pops of color and clean typography.
Key Site Requirements
Based on that research, I established a few core pillars for the VisionX concept:
- Typography & Colors
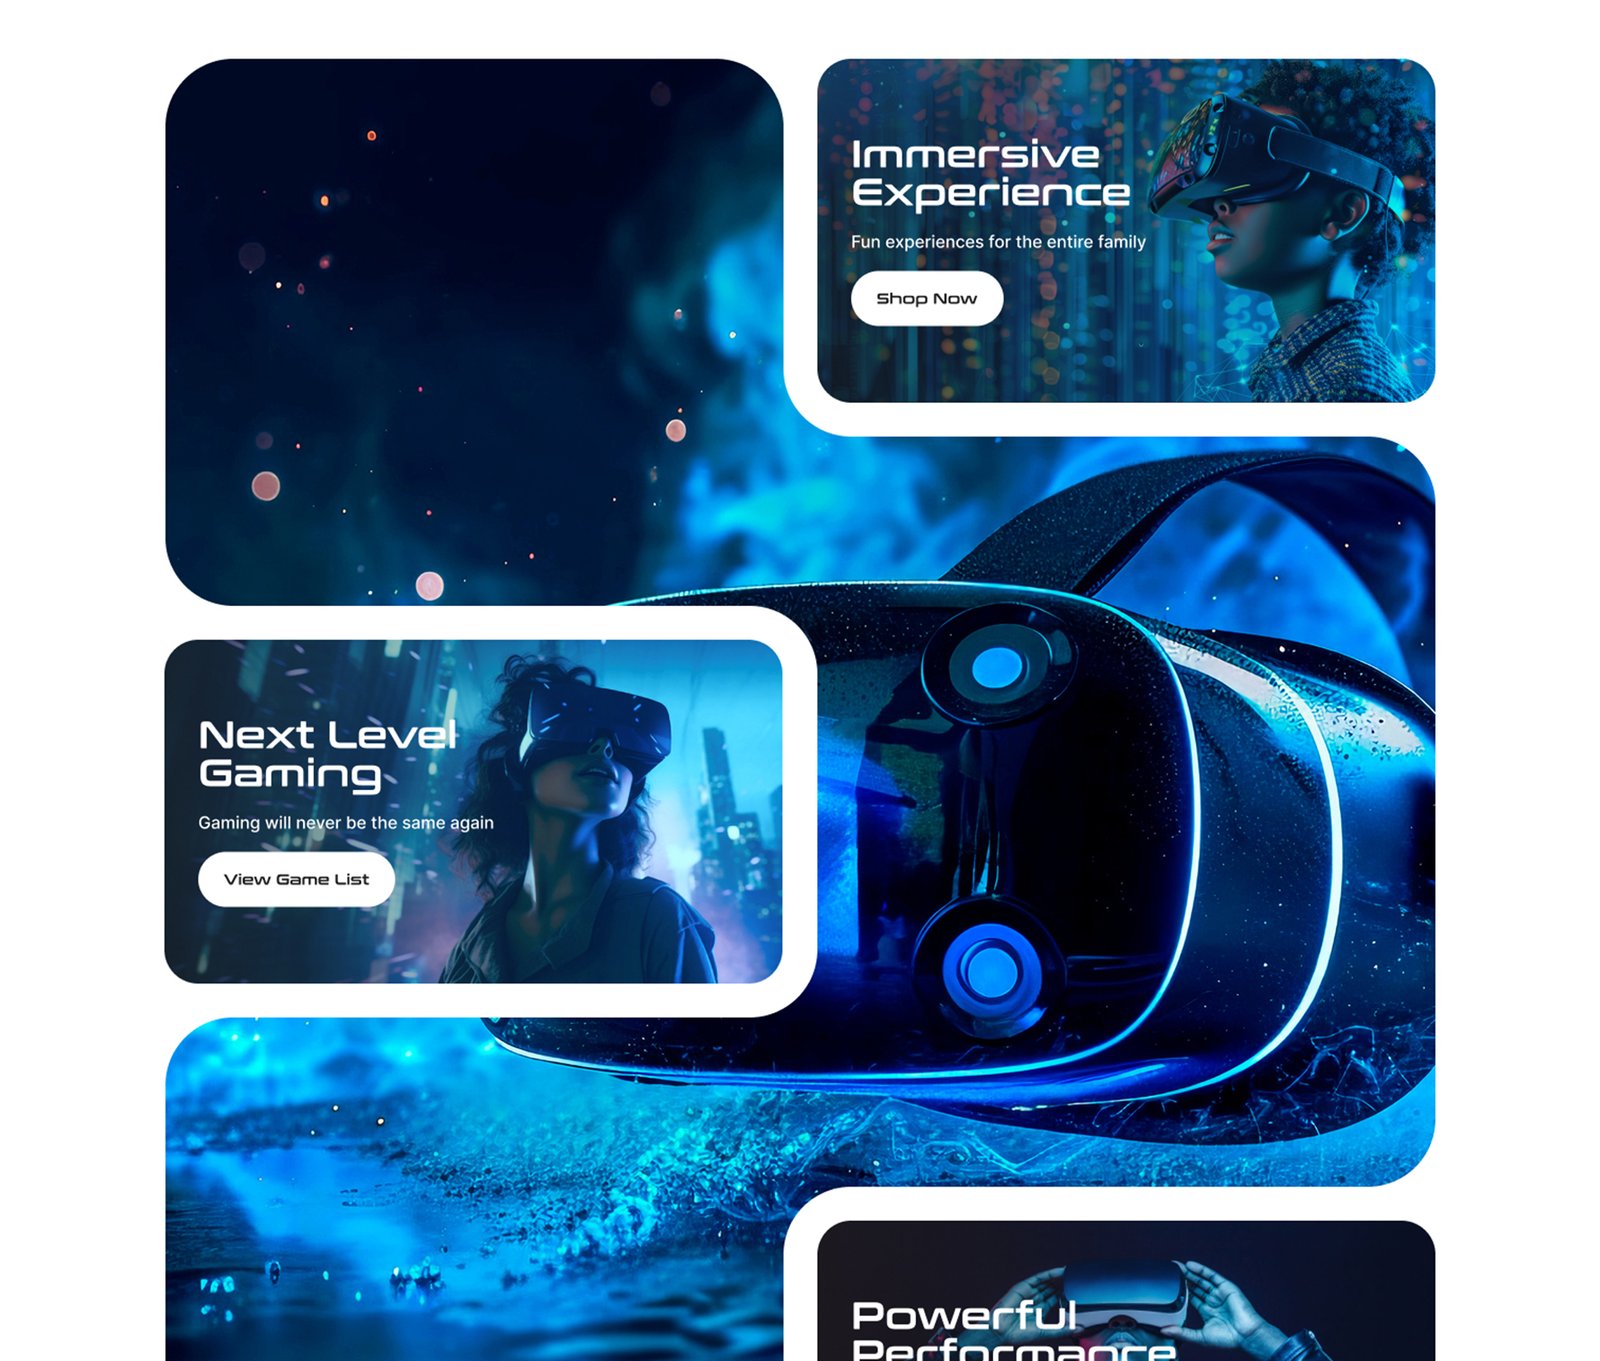
A minimal, grayscale color palette accented with a vibrant pop of blue to make the imagery and calls-to-action (CTAs) stand out. The typography needed to be exceptionally clean to maintain that premium “tech” feel. - Advanced Parallax Effects & Scrolling Image Sequence
Parallax effects are a classic way to engage users, but I wanted to push the envelope by using a very complex SVG shape mask. Normally, this would take hours to code by hand, so I was eager to see how AI would handle it! I also made the scrolling image sequence a mandatory requirement. - Product Pages
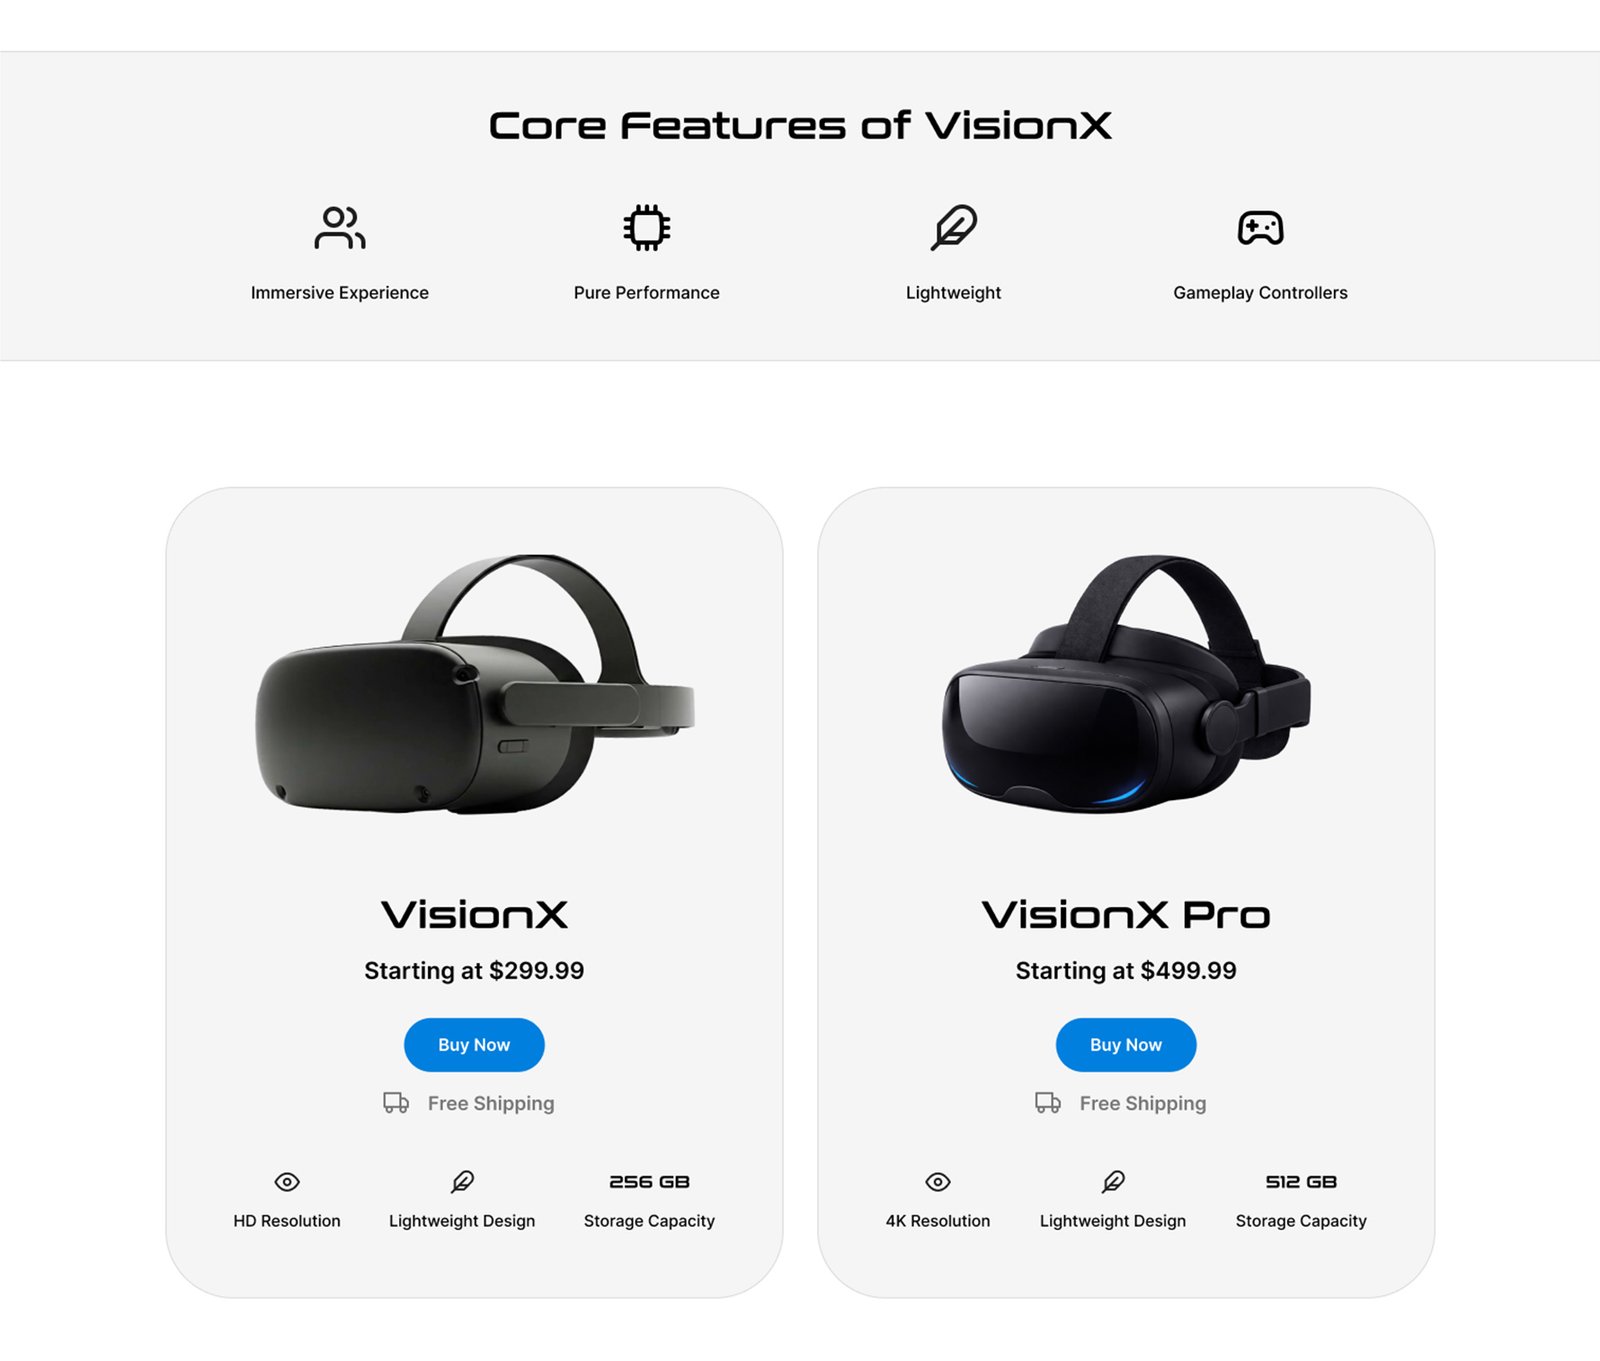
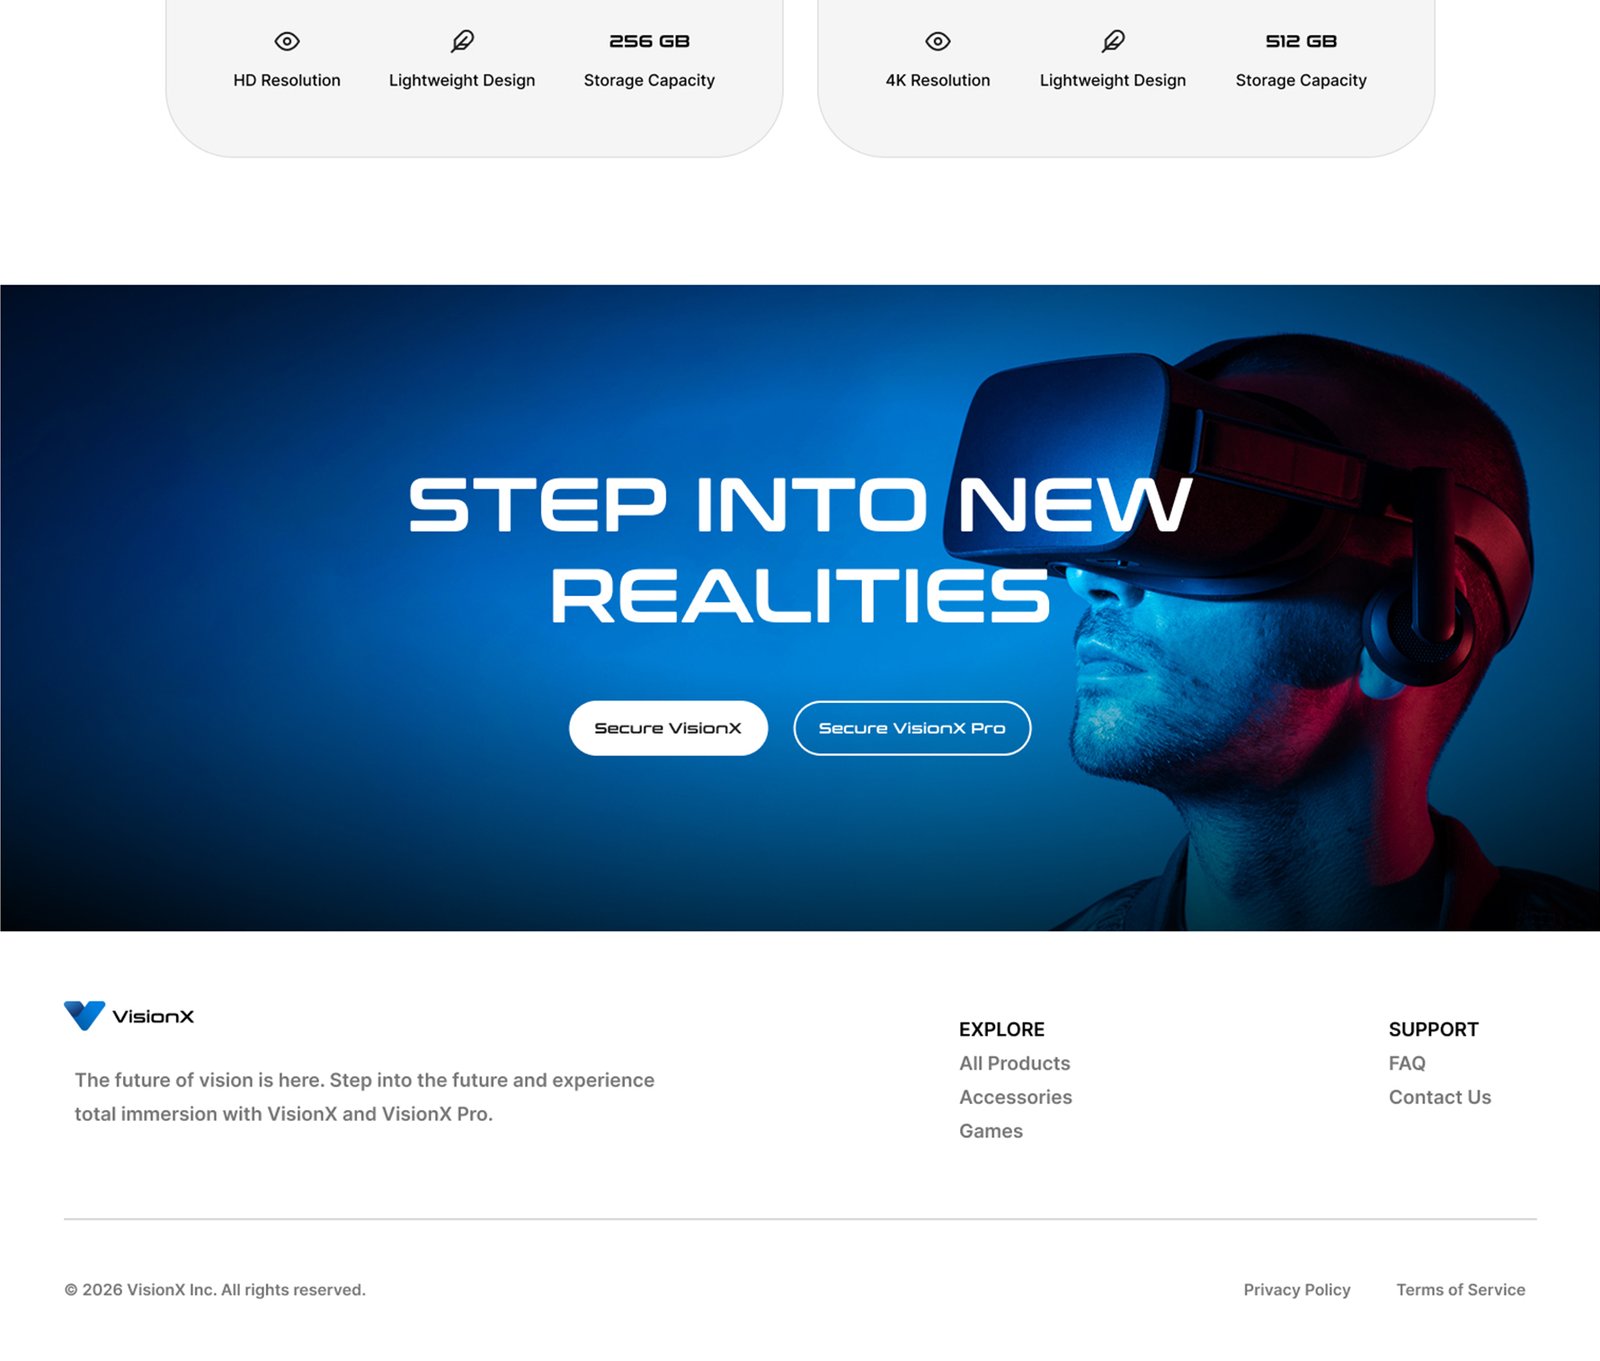
These needed to be ultra-clean, focusing entirely on highlighting key headset features and upselling accessories.
Design
Image Generation
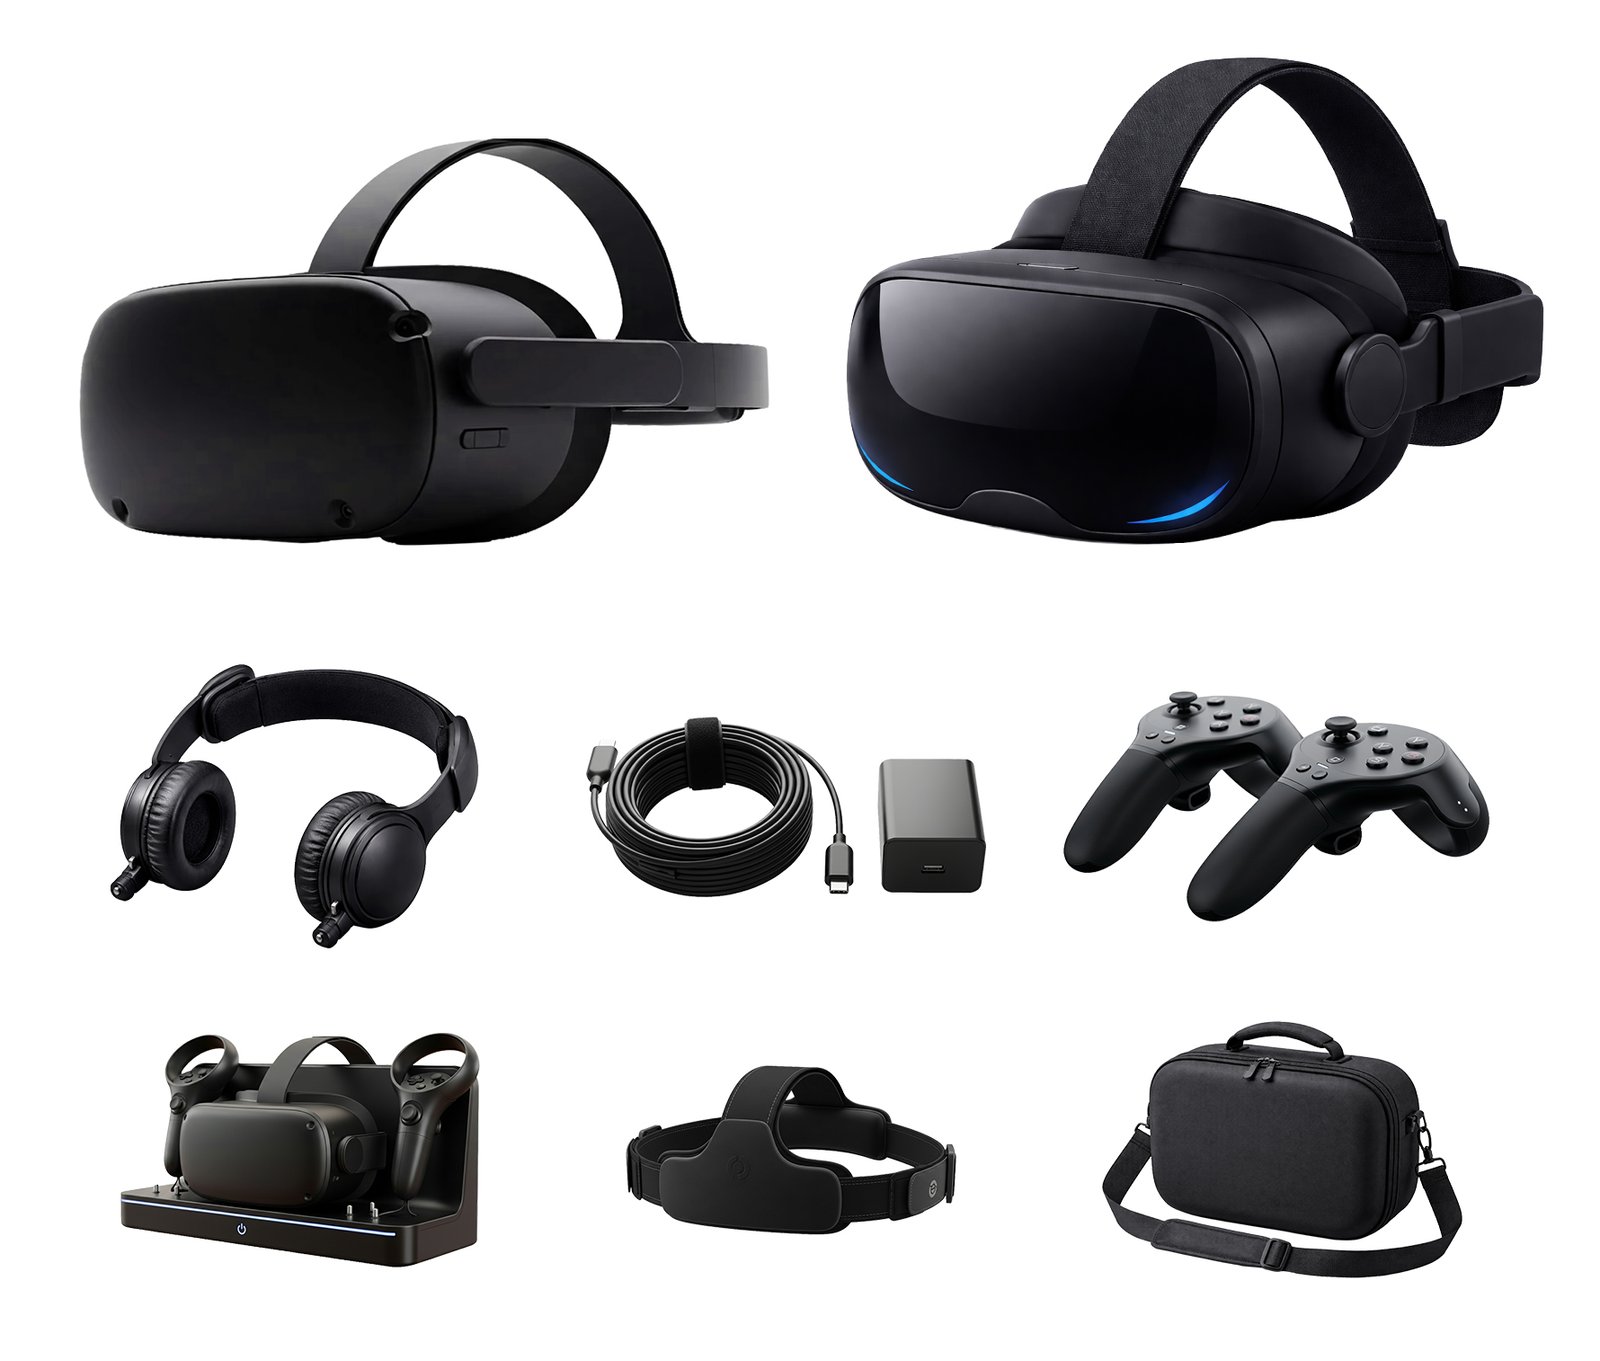
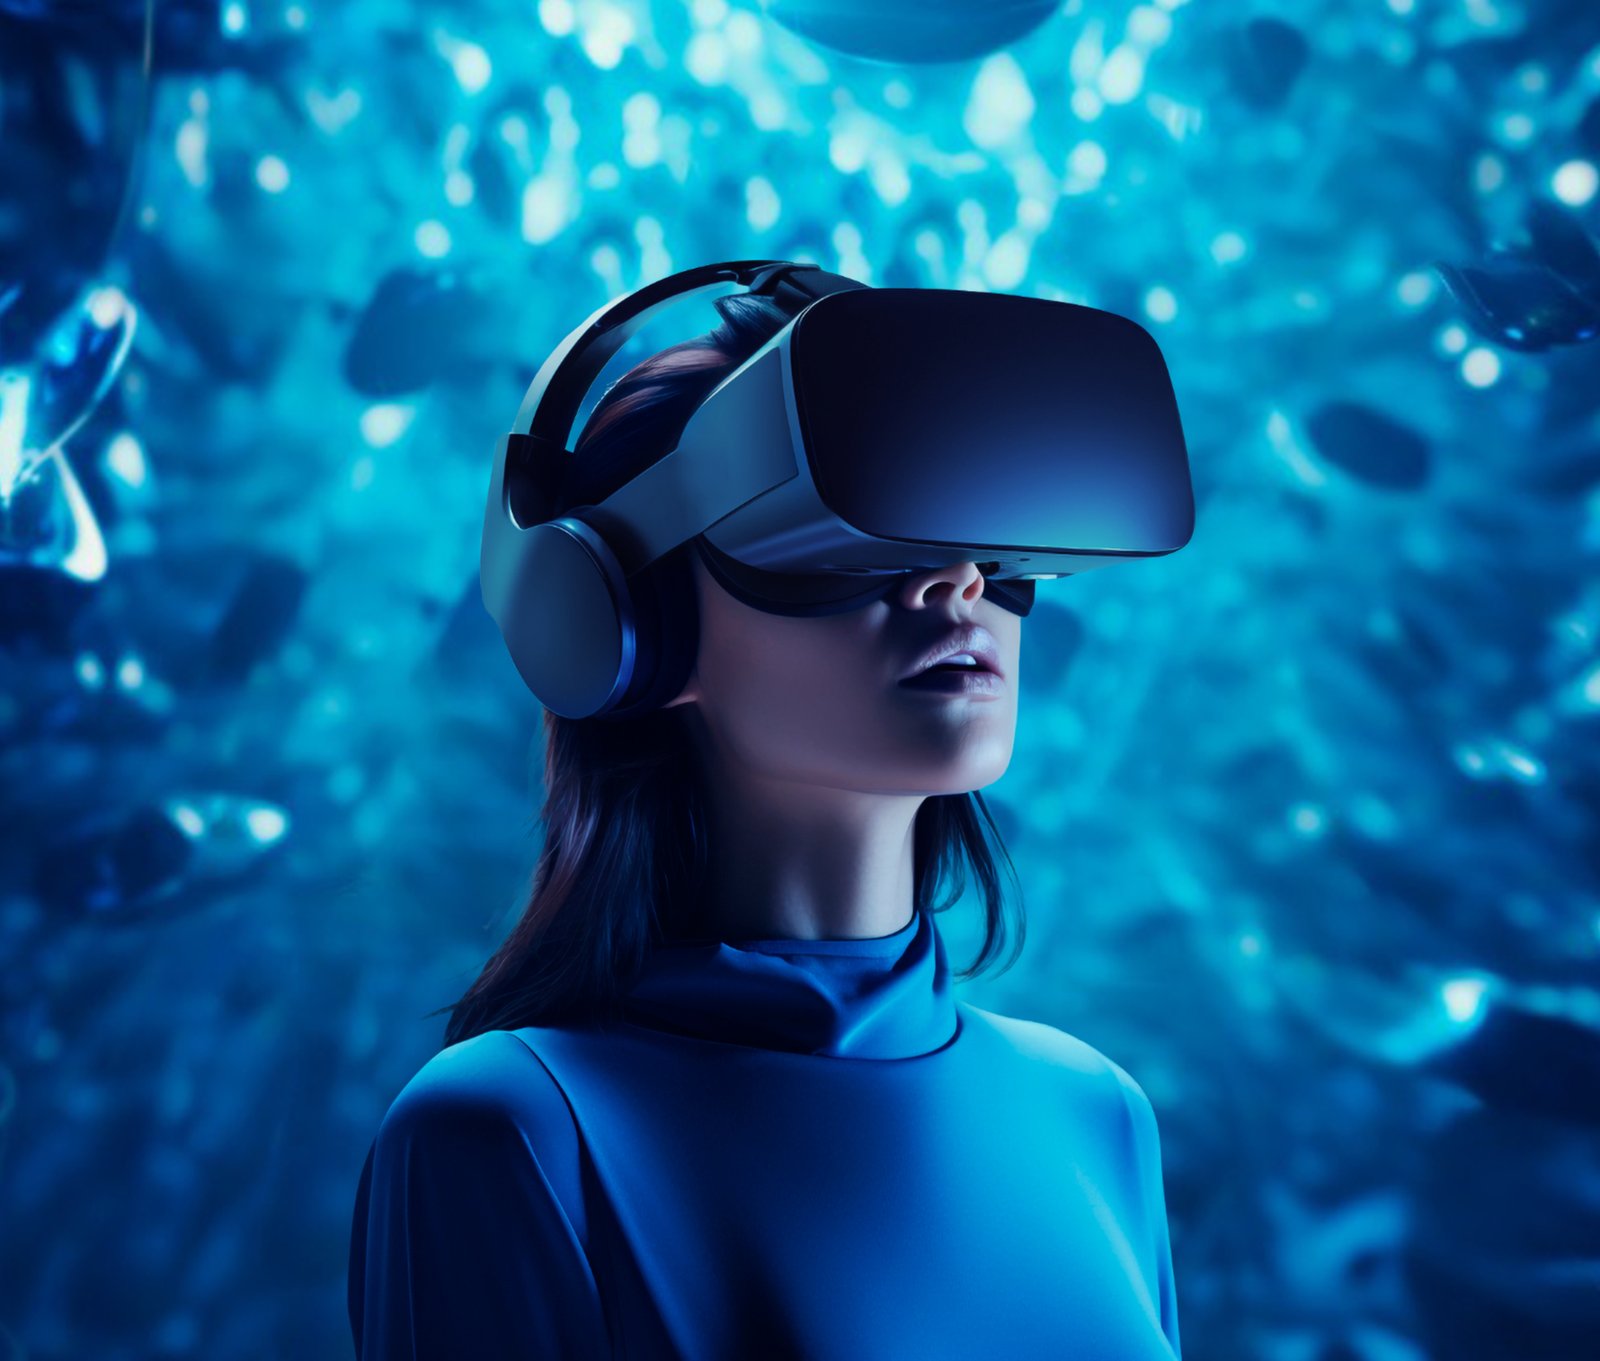
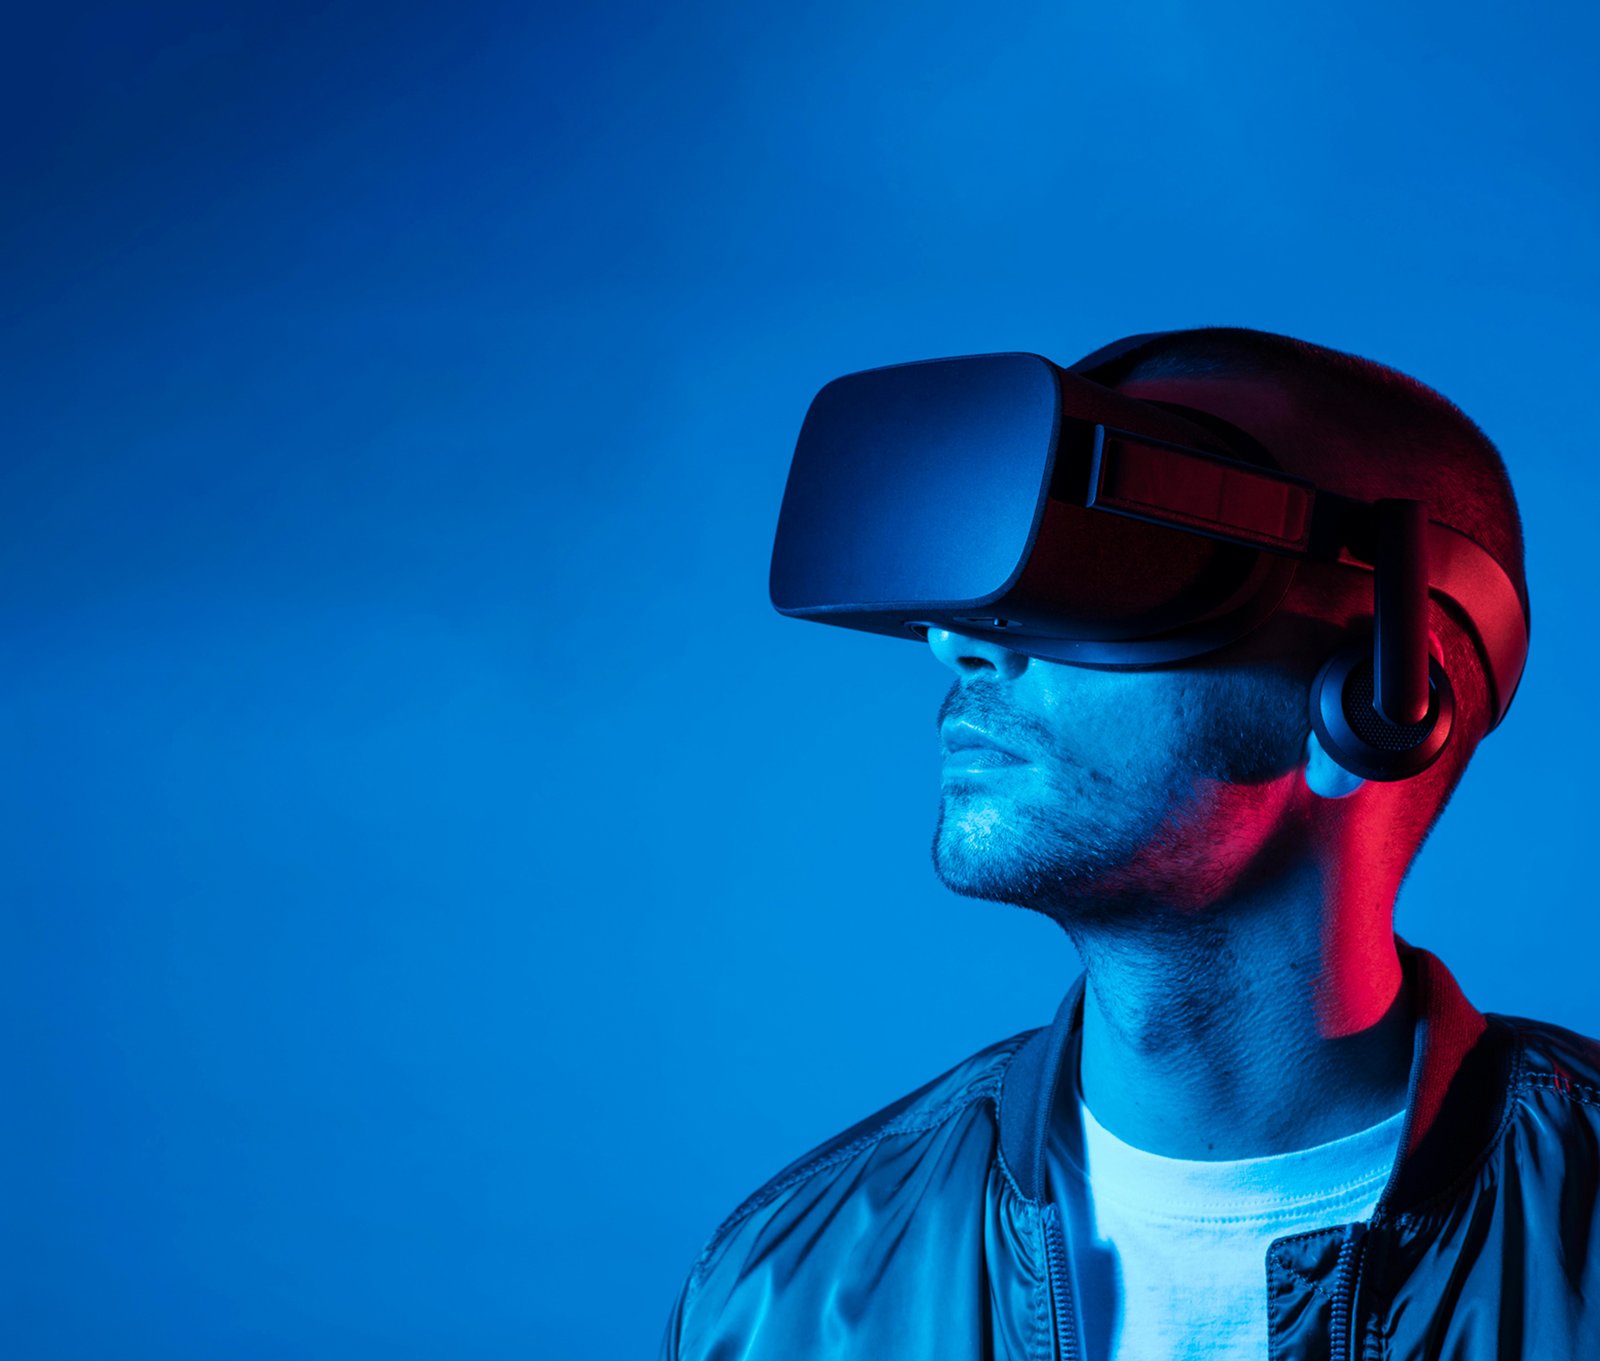
First up: creating the assets! I generated images for two tiers of VR headsets (a base model and a premium version). From there, I used Google Whisk to generate all the supporting imagery—power cords, controllers, and various lifestyle shots of people using the headsets. For the scrolling sequence, I sourced a slow-motion video zooming in on a VR headset, ran it through a video-to-image converter, and meticulously labeled the files in sequential order.
Figma Mockup
Next, I jumped into Figma to design the homepage mockup. This mockup would serve as the primary visual reference for the AI to code from.
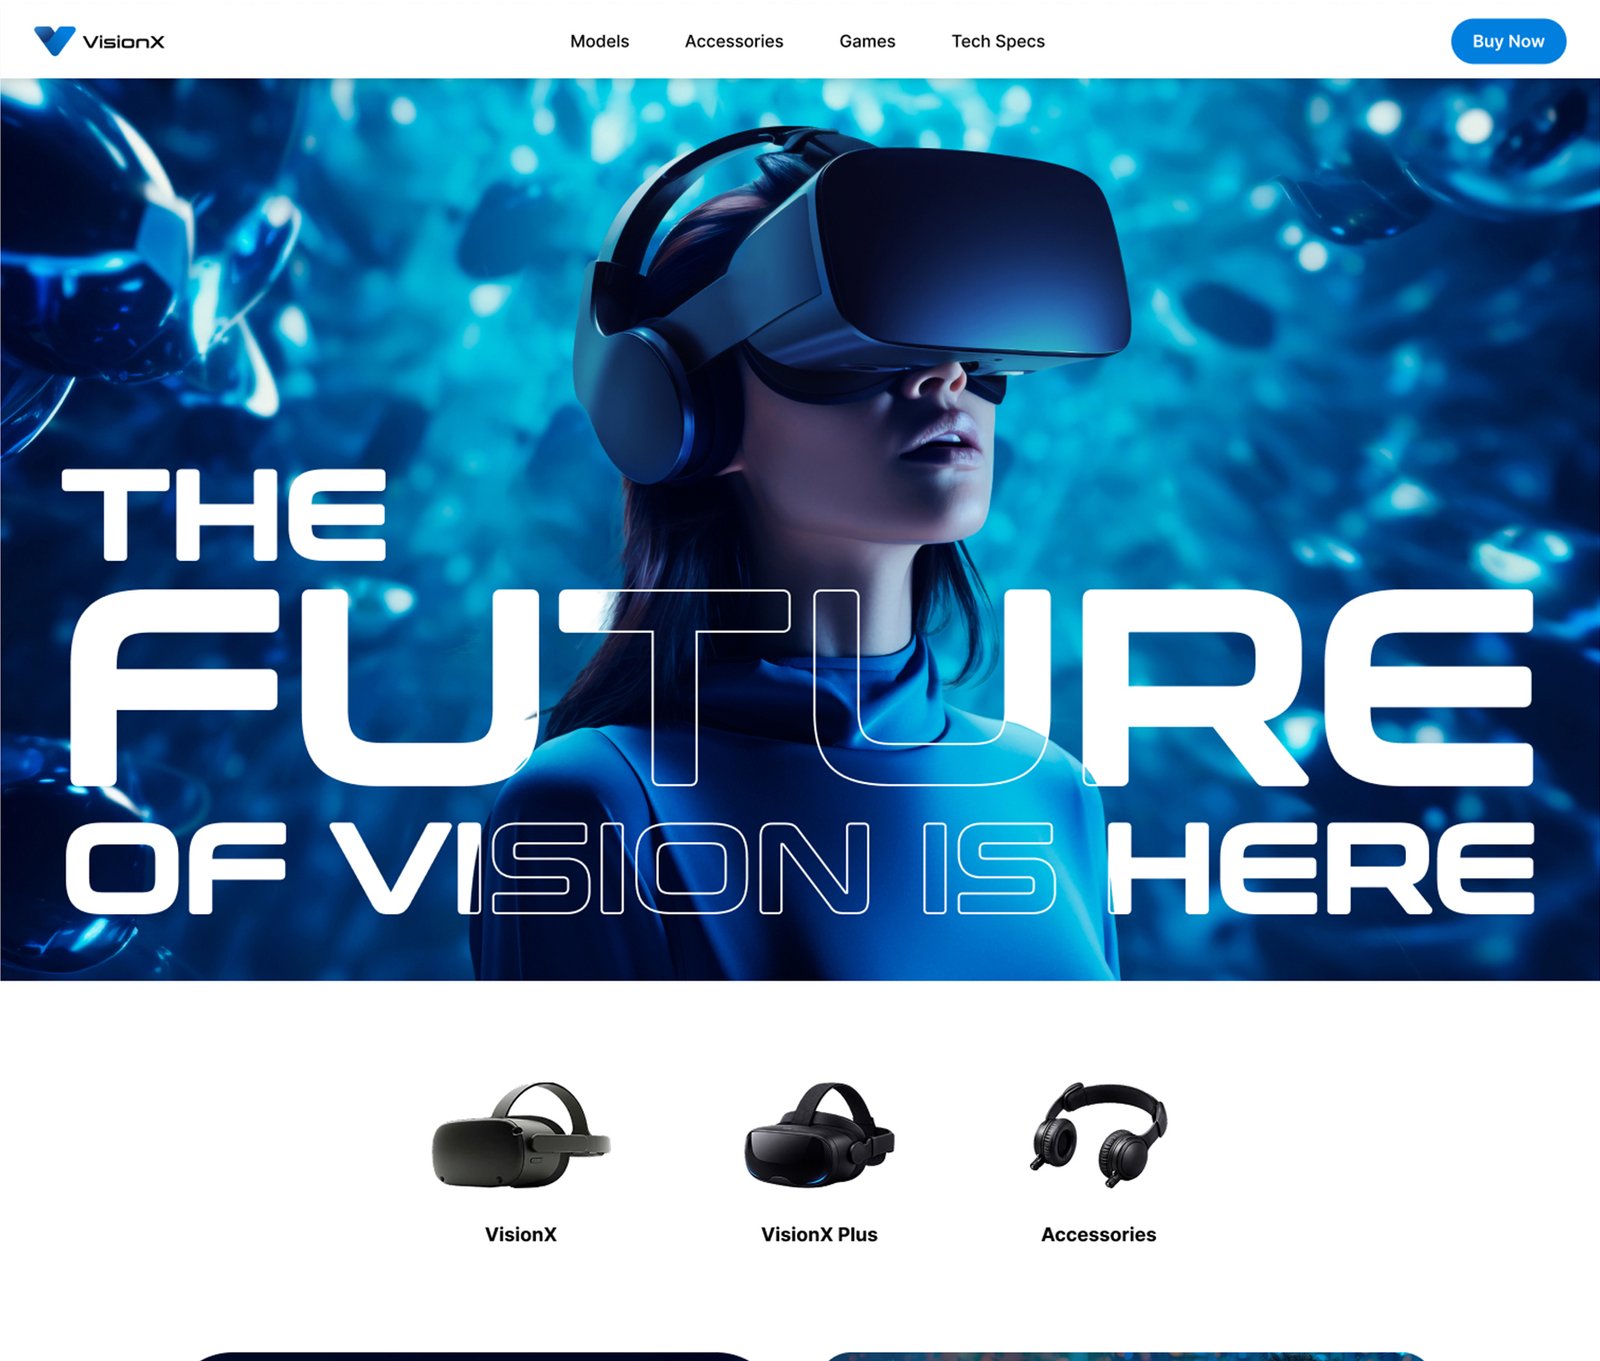
The Layout: I designed a clean navigation header and a hero section featuring a layered overlapping text effect. Below that, I placed three distinct product thumbnails.
The Parallax Section: I generated a few more lifestyle images and placed them into info-tiles wrapped around the complex SVG shape mask. I even used Figma’s built-in AI to generate the placeholder copy for the headset features!
The Strategy: I intentionally left the complex scrolling image sequence out of the initial mockup. I didn’t want to confuse the AI right out of the gate, so my plan was to tackle that section individually once the main page structure was solid.
AI Setup & Development
Agent Research
Before writing a single line of code, I prompted Antigravity to act as a UX Designer and actually research the PlayStation and Meta Quest websites! I instructed it to analyze their basic design patterns and functionality, giving the AI crucial context about the competitive landscape it was building for.
Initial Prompts
I uploaded my Figma mockup and prompted the AI to build the homepage based on the visual design. I explicitly detailed the functionality required for each section, enforced a strict 8px grid system for spacing, specified the exact font families, and provided the local file paths for all my generated images.
Fixing Issues
Antigravity generated a step-by-step project plan, which looked great, so I let it run. In just a few minutes, it had coded a homepage that was genuinely 80% perfect!
It did add a few unprompted drop-shadows that I quickly asked it to remove, and the hero text layering needed a quick prompt to fix. The biggest hurdle was the masked parallax section—the content tiles overlapped awkwardly on smaller screens. However, after a few quick follow-up prompts and some manual CSS tweaks, we had a fully responsive, incredibly complex parallax section up and running!
Adding Scroll Image Sequence
With the homepage foundation completed, I uploaded the sequential images and prompted Antigravity to build the scroll-sequence section. I asked it to include text callouts that would fade in sequentially as the user scrolled. The AI nailed the code—I only had to jump in to adjust the scroll speed and tweak the container height so the final text block was perfectly visible.
Adding Other Pages
Research Aided Design
Here is where the AI really shined. Because I had Antigravity research the competitor sites earlier, and because it had already established our global design system while building the homepage, I didn’t even need to design mockups for the remaining pages! I simply prompted it to create product pages for both headsets and a unified collections page.
The Magic Moment: For the games directory, I dropped a folder of game cover images (named after the games) and asked Antigravity to build a listing page with random ratings. To my absolute shock, it not only built a beautiful grid with the correct titles and art, but the AI automatically assigned logical game categories to each title—which allowed me to immediately prompt it to build a working filter system!
Final Design


